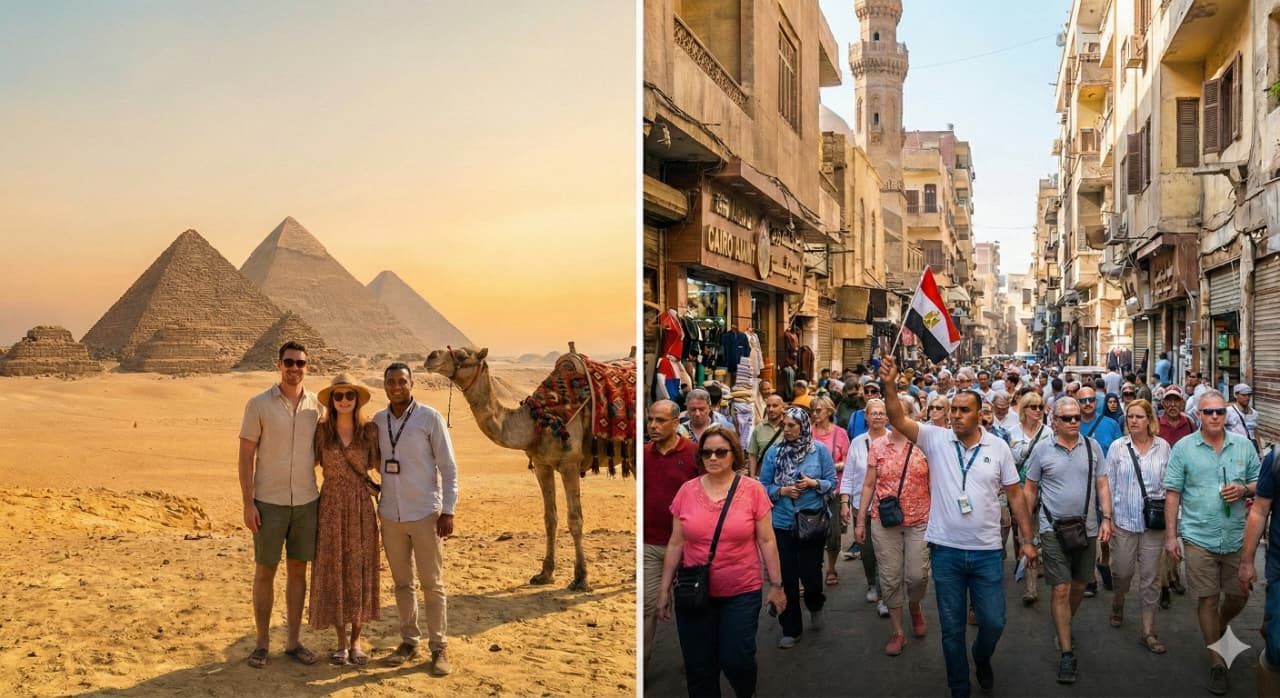
The Ultimate Guide to Golden Hour Photography for Stunning Travel Shots
If you've ever marveled at photographs that capture an enchanting glow, warm hues, and captivating shadows, chances are these were taken during the "golden hour." This magical period shortly after sunrise or before sunset transforms ordinary scenes into breathtaking masterpieces. For travel photographers, mastering golden hour photography can elevate your portfolio, providing images that far surpass typical travel snapshots and even rival carefully curated stock images. Here's your ultimate guide to harnessing the golden hour for stunning travel photography.
Understanding the Golden Hour
The golden hour occurs twice each day—shortly after sunrise and shortly before sunset. Depending on your location and the time of year, the golden hour can range from approximately 30 minutes to a full hour. During this period, the sun sits low on the horizon, filtering sunlight through a thicker layer of the atmosphere, softening shadows, diffusing harsh contrasts, and adding a warm, golden hue to your photographs.
Why Golden Hour Matters for Travel Photography
Travel photography aims to capture not just a place, but the feeling, culture, and essence of a destination. The golden hour naturally enhances your photos by providing:
- Warmth and Richness: The golden tones evoke feelings of nostalgia, peace, and beauty.
- Enhanced Textures: Low-angle light emphasizes textures, making landscapes and architecture pop.
- Depth and Dimension: Shadows become softer and more elongated, adding depth to your images.
- Natural Diffusion: The soft lighting is flattering for portraits, reducing harsh facial shadows.
Planning Your Golden Hour Shots
Capturing the perfect golden hour shot requires careful planning:
1. Check the Weather and Times
Utilize apps and websites specifically designed for photographers, which provide accurate golden hour timings based on your geographic location. Keep an eye on weather forecasts to avoid cloudy or rainy conditions, unless you're intentionally capturing dramatic weather.
2. Scout Locations Ahead of Time
Visiting your chosen location beforehand helps you visualize compositions and identify the best angles. Pay attention to where the sun rises and sets relative to your subject. This will help avoid surprises and ensure you’re in the right spot at the right moment.
3. Arrive Early
Set up your equipment with ample time before golden hour begins. Lighting conditions change rapidly, and being ready allows you to capture each fleeting moment.
Essential Equipment for Golden Hour Photography
Your camera gear doesn't have to be excessively complicated, but certain tools can dramatically improve your golden hour photographs:
- Tripod: Stabilizes your camera for long exposures and helps maintain crisp, clear images, especially in low-light conditions.
- Filters: Neutral density (ND) and polarizing filters can help balance exposure, enhance color saturation, and minimize glare.
- Wide-Angle Lens: Captures expansive landscapes and cityscapes, effectively conveying the grandeur of travel destinations.
- Telephoto Lens: Ideal for isolating specific elements or compressing scenes, adding variety to your golden hour photography.
Techniques for Capturing Stunning Golden Hour Photos
1. Pay Attention to Composition
Apply the rule of thirds, leading lines, and framing to create compelling visual narratives. Golden hour lighting naturally guides the viewer’s eye, so position your elements thoughtfully within the frame.
2. Experiment with Exposure Settings
Golden hour lighting can change rapidly, requiring adjustments to exposure settings. Switch between aperture priority mode for depth control or shutter priority mode to manage motion blur. Regularly check your histogram to ensure optimal exposure.
3. Utilize Backlighting for Dramatic Effects
Shooting directly into the sun (with proper lens filters) can create stunning silhouettes or glowing outlines around your subjects, providing unique and impactful images.
4. Capture Reflections
Water bodies during golden hour mirror the rich colors of the sky, doubling the visual impact of your photographs. Lakes, rivers, and even puddles can dramatically enhance your travel photos.
Maximizing Post-Processing
Editing your golden hour photos is just as crucial as capturing them. Software such as Lightroom or Photoshop can fine-tune your images to enhance their natural beauty:
- Adjust the white balance to perfect the warmth and mood.
- Enhance contrast and clarity subtly to emphasize textures and depth.
- Use gentle saturation and vibrance adjustments to amplify colors without making them appear artificial.
Integrating Stock Photos Thoughtfully
While capturing authentic moments is the core of travel photography, occasionally integrating high-quality, carefully selected stock imagery can complement your portfolio, especially when illustrating articles, blogs, or travel guides. Opt for images that resonate with the authenticity of your golden hour captures, maintaining visual and thematic consistency.
Tips for Different Golden Hour Scenarios
- Urban Landscapes: Capture city skylines with buildings illuminated by warm, golden sunlight, emphasizing architectural textures and lines.
- Natural Landscapes: Position yourself where natural features (mountains, trees, rock formations) catch the dramatic side lighting.
- Portraits: Take advantage of soft, diffused lighting to capture flattering, warm portraits. Place your subject so the sun is at an angle, creating soft, natural shadows.
Final Thoughts
Mastering golden hour photography isn't just about technical skill; it’s about harnessing a fleeting natural phenomenon to evoke emotion and connection in your travel imagery. With preparation, practice, and thoughtful editing, golden hour photography can transform your travel photos into unforgettable visual narratives—captivating both you and your viewers every time.


